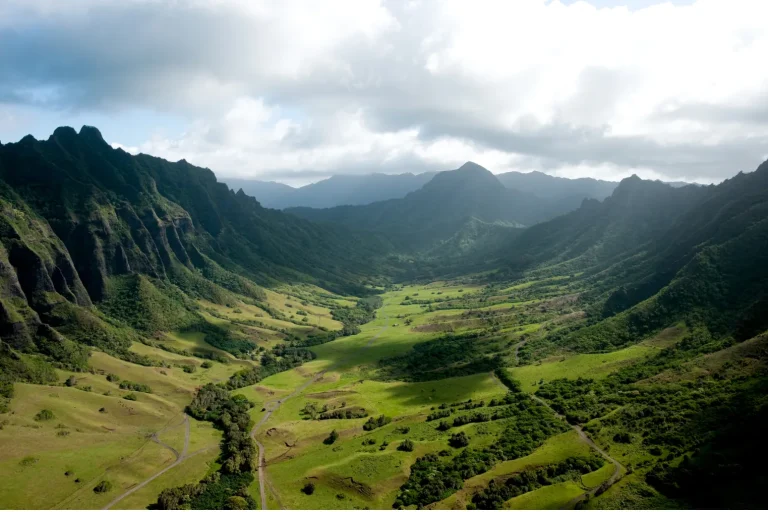
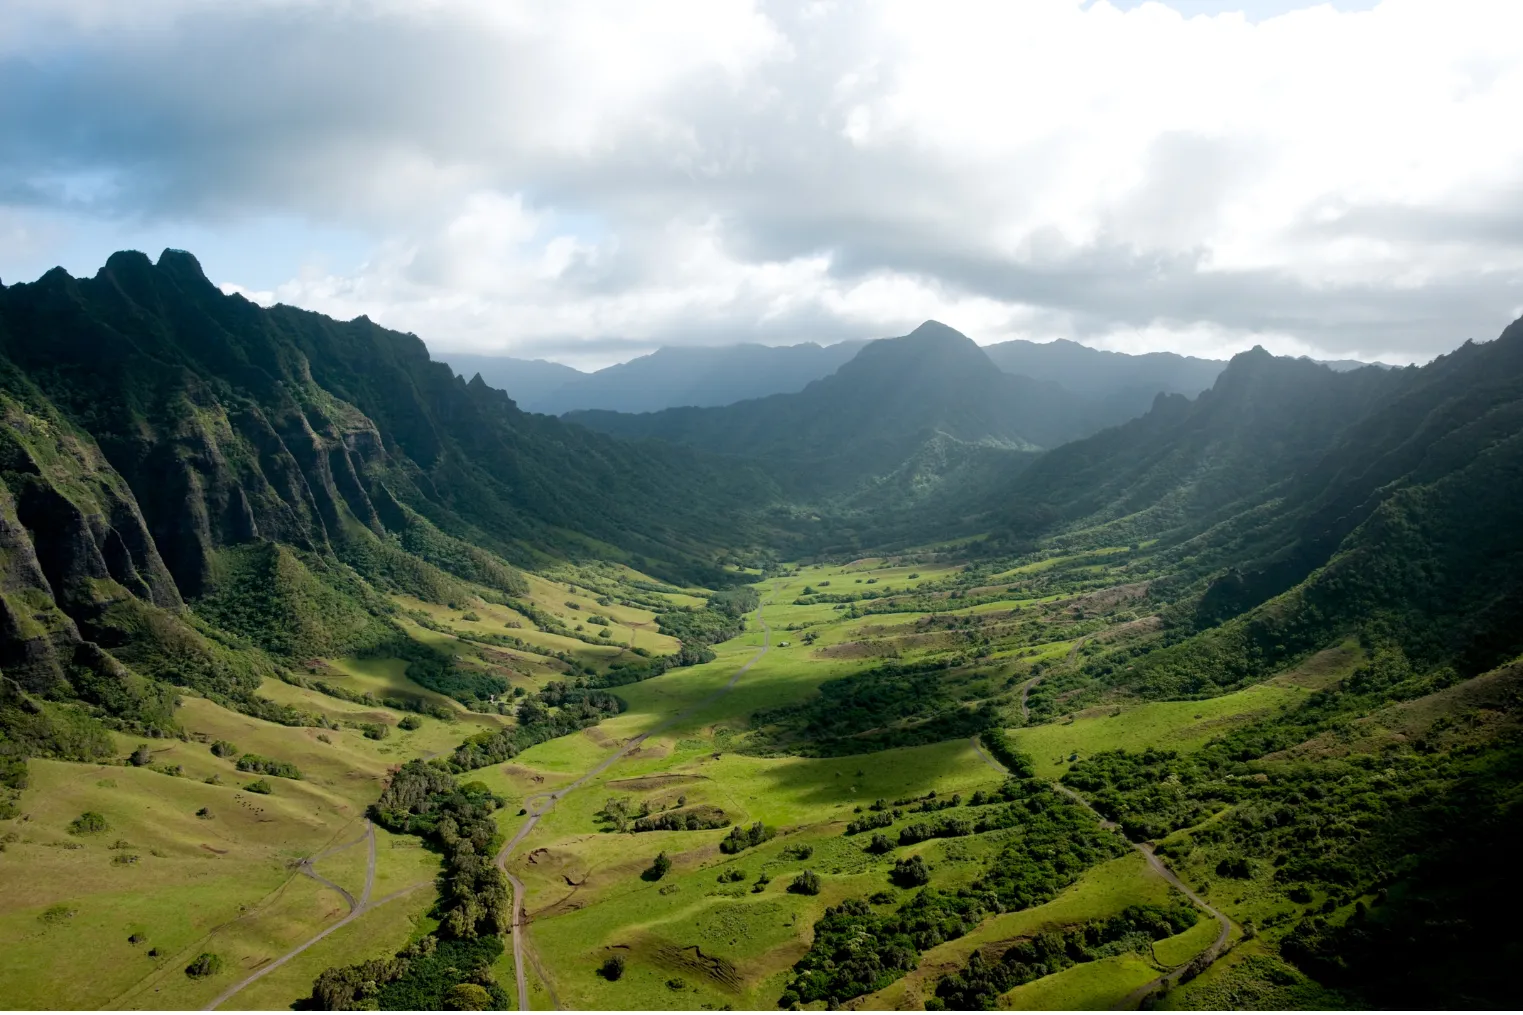
You’ll get better Oahu photos if you start before 9:00 a.m. and run the island counterclockwise. You catch Diamond Head and Makapuʻu as the first light hits the ridges, then you’re on the East Side when the waves sound like a drumline. Pack a wide zoom, a polarizer, and a small tripod, and keep an eye on slick rocks at Halona. Next, you’ve got one stop that changes everything if you time it right…
Key Takeaways
- Start before 9 a.m. and shoot Diamond Head and Makapuʻu at dawn for warm side light and fewer crowds.
- Drive the circle route counterclockwise to keep coastline scenes lit and plan a shot list for a 6–8 hour day.
- Hit Waimea Valley at opening for even waterfall light; allow time for the 3/4-mile walk and swim area.
- Use a tripod: freeze surf at 1/500–1/2000s, or blur water at 0.5–2s with ISO 100–200 and f/8–f/16.
- Bring ND and polarizer filters, protect gear from mist and salt spray, and stay behind railings at cliffs and Pali Lookout.
Plan Your Oahu Circle Island Tour Shot List
Map out your shot list before you roll out, because Oahu’s best light moves fast and your circle route can eat up 6 to 8 hours. Put Diamond Head on the dawn column. You’ll catch warm side light on the tuff cone and shine on the coastline. Plan an early stop at Makapuu Lookout to capture sunrise views sweeping from the cliffs down to the glowing eastern shoreline. Next, slot in detail stops. Frame Halona Beach Cove and Laie Point from the overlooks and add foreground rocks for depth. In Waimea Valley, pack a lightweight tripod and a polarizer. You can pull a 1 to 2 second exposure for silky streaks at 45 foot Waimea Falls. On the North Shore of Oahu, save space for winter surf at Waimea Bay and Banzai Pipeline. Bring extra batteries and cards. Keep your telephoto ready for crisp action.
Master Tour Timing (So You Don’t Miss Shots)
Because Oahu’s light shifts quickly and a full circle can swallow 6 to 8 hours, you’ll want to treat timing like your secret camera setting. start the Circle Island tour before 9:00 a.m, and catch light at Diamond Head and Makapuʻu Point before the sun climbs. plan your route counterclockwise so the coast stays lit. Hit your sunrise-sensitive locations first, including Haleiwa while storefronts wake up. The Makapuʻu Lookout section of the Circle Island Drive is especially photogenic in the morning, when the cliffs and offshore islets glow in low, directional light.
Stay on schedule. If you’re late to the bus you’ll shrink stops and miss angles. Give Waimea Valley time for the 3/4-mile paved walk to the 45-foot waterfall and swim area. Save Dole Plantation for food and shopping before its 5:30 p.m. close. Winter surf can change access, so allow time for a Pali Lookout detour.
Pack Smart Gear for an Oahu Circle Island Tour
Pack your kit like you’re building a grab-and-go menu for the whole island. Start with lenses that cover every stop: a 16–35 for wide-angle shots, a 24–70 for street scenes and food stands, and a 70–200 for distant details and sea turtles. Toss in a versatile zoom if you want to travel lighter. For comfort on this full-day adventure, round out your camera gear with essentials to pack like sun protection, water, and snacks so you can stay focused on shooting instead of scrambling for basics.
Bring a sturdy tripod in carbon or aluminum so you can stretch shutter speeds at waterfalls and catch calm sunrise or sunset frames. Carry two charged batteries and 32GB cards, since the tour runs 6 to 8 hours with few outlets. Add a rain cover, microfiber cloth, and blower for salt spray and sand. Slip in a neutral-density filter and a polarizer, then ride easy with a side-access backpack all day.
Shoot East-Side Beaches: Waves, Cliffs, Motion
On Oahu’s east side, you’ll feel the wind whip up salt spray as waves slam the cliffs at Makapuʻu and Halona, so set your shutter with intent. You can freeze the boom of a crashing set at 1/500 to 1/2000s, or slow it to 0.5 to 2 seconds on a tripod for that silky sweep from a safe overlook. Then build your frame with lava rock in the foreground and the cliffs on the thirds, and if Mānana Island sneaks into view, let it steal the spotlight. For softer scenes between action shots, swing by Waimanalo Beach to capture its long, serene shoreline and gentle pastel light along Oahu’s east coast.
Still comparing Circle Island Tour Photo Tips?
Ask for tour ideas, hotel suggestions, or a simple trip plan that combines both.
Trip Helper
Shutter Speed For Waves
Chase the wave rhythm as you loop the east side of Oahu, since shutter speed can turn the same shoreline into either glassy silk or sharp spray. Set up at Makapuʻu Beach with a tripod and try long exposures around 1/2 to 2 seconds. You’ll hear the surf hush into a soft ribbon while rocks stay crisp. As you follow the Oahu Circle Island Adventure route, pause at Halona Blowhole and nearby overlooks to capture explosive plumes of water with both fast and slow shutter speeds.
- Go fast at Halona Beach Cove: 1/500 to 1/2000 sec to freeze crashing waves and catch every bead.
- Go in between: 1/30 to 1/125 sec, brace on a rock, and let whitewater streak.
- In golden hour, add an ND filter and stretch to 1 to 10 seconds for water plus clouds.
- Check your histogram, start ISO 100 to 200, and use f/8 to f/16 to protect highlights.
Compose Cliffs And Overlooks
Step up to Oahu’s east-side overlooks and let the cliffs do half the composing for you. At Makapuʻu Beach, grab a 70–200mm to compress distance and isolate Mānana Island against the surf from shore or a low lookout. For panoramic views from higher viewpoints, add lava or native shrubs up front and use the rule of thirds. At Nuʻuanu Pali Lookout, arrive before dawn to frame the first light washing over windward cliffs and valleys for moody sunrise images.
Stop at Halona Beach overlook and put the cliff edge in the foreground. Add a polarizer to deepen ocean blue and cut glare on crashing waves. In early morning golden hour, keep the sun to your side and expose for highlights so surf whites stay clean. At Laie Point, set tripod camera settings to 1/30–1/4 second for silky motion and sharp rock. Keep kids and gear back.
Shoot Overlooks Safely: Pali, Halona, Hanauma
Often the best island photos happen from the safest spots, and Oahu’s overlooks prove it fast. At Nuuanu Pali Lookout, plant your tripod on stable ground behind the railings. Keep the center low because Koʻolau gusts can shove gear around. Arrive early or late for side light, then bracket to tame bright ocean glare and keep mountain texture. You’ll hear wind roar and waves slap, but you stay steady. On exposed viewpoints like these, take a cue from Makapuʻu Point Trail safety guidance by checking weather in advance, carrying plenty of water, and respecting railings and marked viewing areas.
Safest overlooks can deliver Oahu’s best shots, brace low behind the rail at Nuuanu Pali, bracket glare, let the wind roar.
- At Halona Beach Cove, step back from the cliff and watch kids.
- Use a telephoto or 24–70mm to compress the cove on loose volcanic rock.
- At Hanauma Bay Nature Preserve, shoot only from marked overlooks and pack a polarizer.
- Shield your kit from salt spray with a cover, lock straps, and don’t lean over rails.
Byodo-In Temple: Reflections, Details, No Crowds
When you roll into Byodo-In Temple at Valley of the Temples right after the gates open, the place feels calm and perfectly lined up for photos. You get even morning light from 8:30 a.m. to 4:30 p.m., and the symmetry pops without a crowd in your frame. Head to the reflective koi ponds and set a tripod for a low ISO long exposure so the temple and Koʻolau green look like they’re floating. Watch your highlights on the gold and water. Built in 1963 as a replica of the nearly 1,000-year-old Byodo-In Temple in Uji, this non-practicing Buddhist site is now a Hawaii state landmark, which adds historical weight to every frame you shoot.
Switch to a 70–200mm and hunt details. Zoom in on the three-ton bell, carved wood, and roof tiles. Use lotus ponds, stone lanterns, or leaves as foreground, then place the Buddha on thirds. Bring a card. They’re cashless. Late afternoons stay quiet too.
Waimea Falls: Flattering Light and Water Blur
Hit Waimea Falls in the morning right when the park opens at 9 a.m., and you’ll catch softer light that spreads evenly across the 45-foot curtain of water and the shiny green leaves. Set up your tripod on the damp trail, then start around 1/4 to 1/2 second to turn the splash into silky blur while the rocks and people stay crisp. If the scene’s still too bright, you’ll want an ND filter so you can stretch the shutter longer without blowing out the white water. If you’re circling the island for more shots, plan a stop at Kualoa Regional Park to frame Mokoli‘i Island, also known as Chinaman’s Hat, with the Ko‘olau Mountains rising behind it.
Best Time For Light
Before 9:00 a.m., you’ll catch Waimea Falls in soft side light that makes the 45-foot cascade glow and the surrounding jungle look freshly rinsed. These are the best times for a view of the beautiful,best times,ready to capture without people sneaking into your frame. You’ll also feel the crowd thin out, which is nice. Early light warms the spray and leaves long shadows on the rocks, while midday sun tends to punch holes of white into the moving water. For a contrasting mood, later in the day you can capture the serenity at Byodo-In Temple, where still water and soft reflections offer a calmer complement to your waterfall shots.
- Start the 3/4-mile walk early and listen for birds as you shoot.
- Spot meter the brightest water so the whites stay detailed.
- Keep shooting in RAW so you can lift the shaded greens later.
- Pack a fast zoom and extra batteries for the dim canopy.
Shutter Speed Water Blur
Soft morning light sets you up nicely at Waimea Falls, and the next trick is making that 45-foot curtain of water look smooth without turning it into a blank white streak. Start at 1/4 to 1/2 second so the roar turns silky but you still see threads of spray. If the water blows out, jump to 1/60 and try again. Keep ISO at 100 to 200 and set f/8 to f/11 for the Valley greens and rock detail. Spot meter the brightest foam, then check your histogram. If contrast bites, bracket a stop each way. Afterward, you can chase different textures at Bay Beach. For more dramatic coastline frames later in the day, plan on weaving this stop into an East Oahu scenic drive so you can balance waterfall softness with rugged ocean views.
| Look | Shutter | Tip |
|---|---|---|
| Silky | 1/2s | Watch highlights |
| Textured | 1/60s | Freeze sparkle |
Listen for birds and let mist cool your hands.
Tripod And Filter Setup
As the trail bends closer to Waimea Falls and the air turns cool with mist, you’ll want a sturdy tripod set low on the paved path to lock in sharp leaves and rocks while the 45-foot waterfall turns smooth. Begin around 1/4–1/2 second. If sun hits the pool, screw on a 6–10 stop ND for 1–5 seconds. In shade or clouds, use a 3-stop ND. Set f/8–f/11. Spot-meter the falling water and underexpose 1/3–1 stop. Shoot RAW. Nearby along the North Shore, dramatic surf at places like Waimea Bay and ʻEhukai Beach (Banzai Pipeline) offers equally compelling opportunities for coastal photography.
- Use a remote or 2-second timer.
- Add wet rocks or native plants up front.
- Pack a lens cloth and rain cover for mist.
- Fine-tune your tripod and filter setup for opportunities to capture, then capture breathtaking details. Listen to the rush and wait for wind to pause.
Edit Your Oahu Circle Island Tour Set Fast
Kick off your edit by trimming your Oahu Circle Island tour shoot down to the best 10–20%, so you’re not wading through near-duplicates while the trade winds are still ringing in your ears. Aim for 1–3 frames per scene: a wide of Diamond Head, a mid shot at your first stop on the Makapuʻu cliffs, and a detail of wet lava rock. As you sort, keep an eye out for images from the top photo stops around the island so your final set captures the full variety of your route.
In Lightroom, pick one keeper per location and batch-adjust exposure, white balance, and lens corrections, then sync. Use one tropical preset for cohesion, not a neon postcard. Try vibrance +12, clarity +5, contrast +8, then tweak highlights and shadows to save sky and water. Process long exposures separately with noise reduction. Export two sets: 3000–4000px for prints, and 1200px at 60–70% for sharing.
Frequently Asked Questions
Are Permits Required for Commercial Photography on the Circle Island Tour?
Yes, often you’ll need permits for commercial photography, but it depends on each site. Check permit requirements with state parks, beaches, or private lands, because commercial usage triggers location restrictions and fees, and your operator too.
What’s the Best Season for Humpback Whale Photos From Oahu Overlooks?
You’ll get the best humpback shots from Oahu overlooks in January–March, with peak months in February and early March. You’ll catch longer visibility windows on calm mornings, and whale behavior like breaching and tail slaps.
Can I Fly a Drone During Stops, and Where Is It Prohibited?
You can fly a drone at some stops if you follow FAA rules, get permission on Private property, and avoid Wildlife disturbance. It’s prohibited near airports, military bases, state parks, beaches with bans, and crowds.
How Do I Protect Gear From Salt Spray, Sand, and Sudden Rain?
Like a knight shielding a scroll, you’ll stash gear in waterproof bags, keep lens caps on, and swap lenses inside the car. You’ll wipe salt spray fast, avoid sand, and dry with silica packets later.
Are There Restrooms or Changing Areas for Quick Outfit Swaps on Route?
Yes, you’ll find restroom locations at stops like beaches, parks, and visitor centers, but they vary. You can plan event logistics by checking the itinerary, and bring a towel for portable changing when facilities lack stalls.
Conclusion
You’ve chased dawn from Diamond Head to Makapuʻu, and your tripod’s already kissed salty sand. Keep rolling counterclockwise, like a shutter clicking through chapters. You’ll hit Waimea Falls at opening, hear water hiss on rock, and soften the scene with a 3–10 stop ND. Later, you’ll browse Dole Plantation souvenirs when the light turns mellow. Back up your cards, tweak contrast fast, and call it a day well spent. ISO stays low and highlights behave.